You have no items in your shopping cart.

Recent Posts
-
What Is a Resin Walking Cane? The Complete Guide
-
Store Walking Canes Upright When Not In Use
-
Why an Elegant Cane Is a Thoughtful Gift for Loved Ones?
-
The Art of Christmas Design: Walking Canes That Celebrate the Season in Style
-
How an Ergonomic Walking Cane Handle Prevents Hand and Wrist Strain?
-
How to Walk With a Cane Correctly to Avoid Back or Shoulder Strain?
MOST POPULAR NOW


17
Feb
To repair a walking cane with a detached handle, follow these detailed instructions:
Prepare Your Workspace:
Choose a clean, flat surface to work on. Gather all necessary materials and tools, including wood glue, bar clamps for woodworking, and a clean cloth for any excess glue cleanup.
Prepare Your Workspace:
Choose a clean, flat surface to work on. Gather all necessary materials and tools, including wood glue, bar clamps for woodworking, and a clean cloth for any excess glue cleanup.
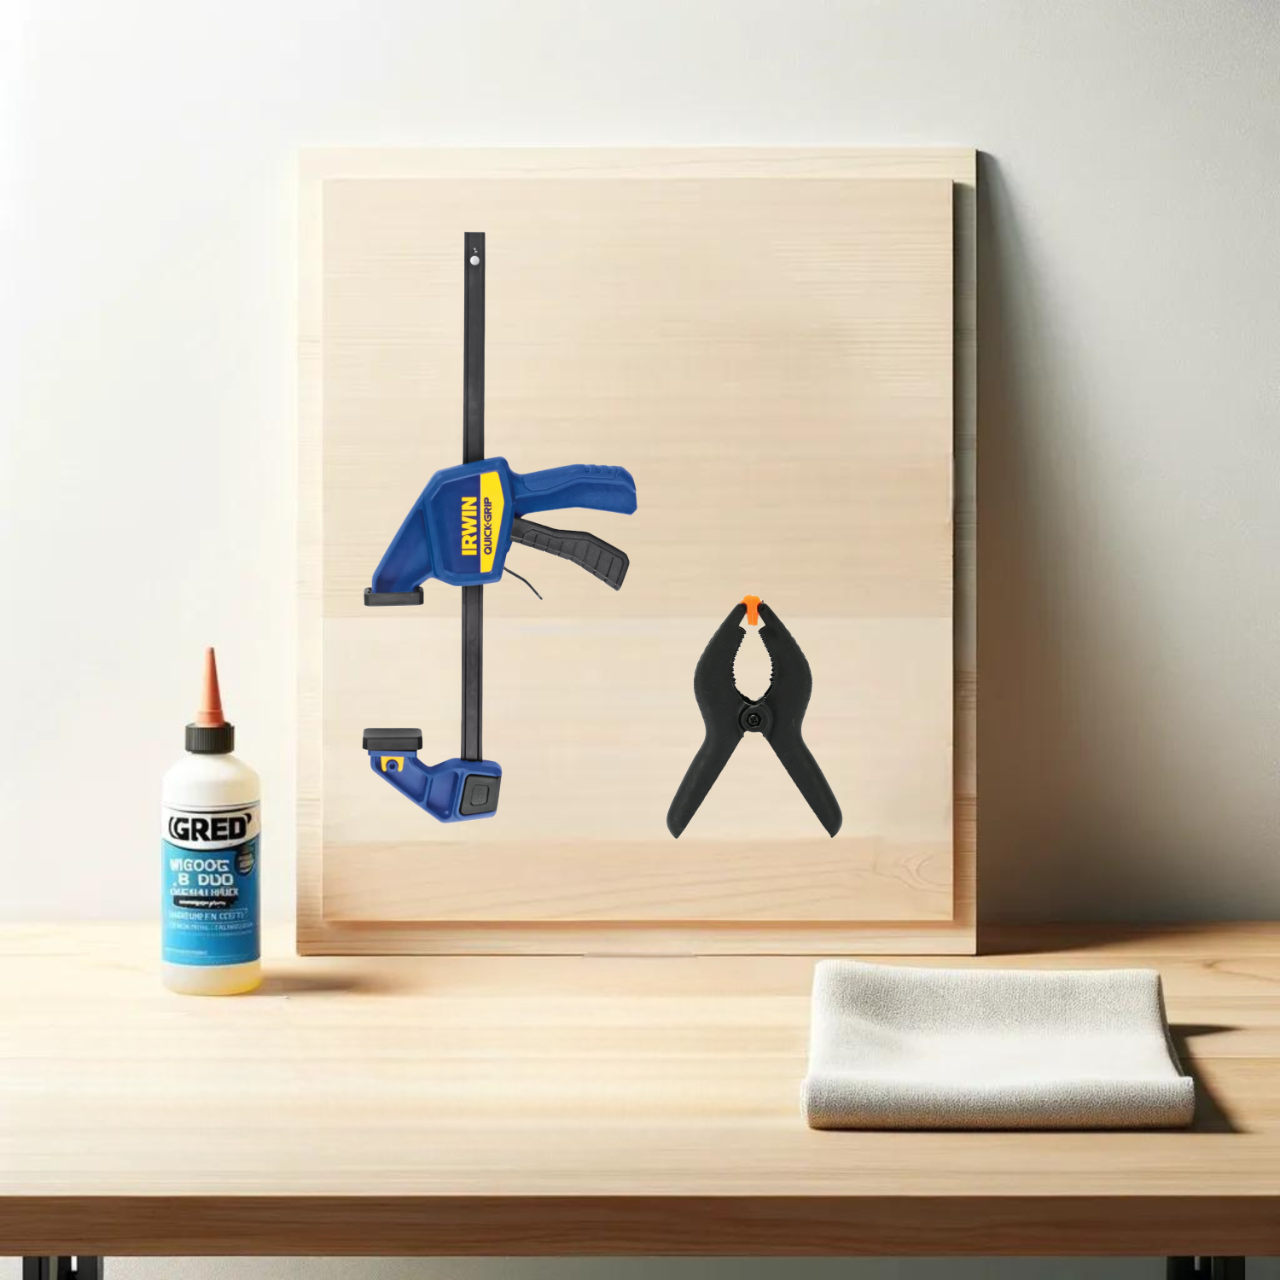
Inspect the Damage:
Before proceeding, closely examine both the handle and the shaft of the walking cane to ensure there are no additional damages or splinters. If there are splinters or rough edges, gently sand them down to prevent injury or further damage during repair.
Apply Wood Glue:
Carefully apply a moderate amount of wood glue to the connecting elements of both the cane's handle and the top of the shaft. Be sure to cover the entire surface area that will come into contact, but avoid applying too much glue that it overflows excessively when pressed together.
Allow the glue to sit for about 1 minute before joining the pieces. This waiting period lets the glue become slightly tacky, improving the bond.
Join the Handle and Shaft:
Carefully align the handle with the shaft. Press them together firmly, ensuring that the handle is straight and correctly aligned with the shaft for a uniform look and functional integrity.
Wipe away any excess glue that squeezes out from the joint with a clean cloth before it dries to prevent a messy finish.
Secure with Clamps:
Place bar clamps around the glued area to hold the handle and shaft together tightly. Adjust the clamps so they apply even pressure without warping or damaging the wood.

Make sure the clamps are not too tight as to cause indentations or damage to the cane but tight enough to hold the pieces securely while the glue dries.
Let It Dry:
Leave the cane clamped and undisturbed for 24 hours. This drying time is crucial for the glue to fully cure and form a strong bond between the handle and the shaft.
Remove Clamps and Inspect:
After 24 hours, carefully remove the clamps. Inspect the repair to ensure the handle is securely attached and that there are no gaps or loose areas.
If necessary, gently sand any excess dried glue for a smooth finish. Be careful not to damage the wood's surface.
Test the Repair:
Gently apply pressure to the handle to test the strength of the bond. If the handle holds firmly without any movement, the repair is successful, and the cane is ready for use.
If the handle feels loose or unstable, repeat the gluing and clamping process with additional glue and ensure it dries completely before testing again.
By following these steps, you should be able to successfully repair a detached walking cane handle, restoring its functionality and extending its lifespan.
Also Purchased
-
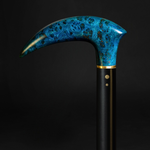
![Floral carved walking canes and sticks]()
Beige Walking Cane for Ladies Chamomile Flower, Wooden Walking Stick
Introducing our beautiful Beige Walking Cane for Ladies with Chamomile Flower, a Wooden Walking Stick that is hand carved and handmade, making it both pretty and unique. This walking cane...$90.00$79.50 -
![Postmodern Art Walking Cane Handmade from Ash Wood]()
Aceents Einstein Modern Art Sculptural Walking Cane – Postmodern Design
Discover a unique postmodern walking cane designed by ARTWalkingSticks — a functional piece of contemporary art crafted for everyday use. This sculptural cane is hand-carved from durable Ash Wood, making...$155.00 -
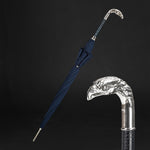
![Wolfman cane - Wolf Head Cane - Canes and Walking Sticks for Men and Women]()
Wolfman cane - Wolf Head Cane - Canes and Walking Sticks for Men and Women
Wolfman cane - Wolf Head Cane - Wolf Head Canes and Walking Sticks. Some of us need support when walking, so we use canes. But a person with a cane...From $189.00 -
![ArtWalkingSticks™ MAGIC Walking Cane, Handmade - Make to Order]() Sold Out
Sold OutArtWalkingSticks™ MAGIC Walking Cane, Handmade - Make to Order
This piece of art is created for those who value details. We make one of a kind, handcrafted wood and resin canes. Our Wooden Canes are completely unmatched in creativity....$430.00 -
![Comfort Grip Golden Retriever Walking Cane, Ergonomic Walking Stick]()
Comfort Grip Golden Retriever Walking Cane, Ergonomic Walking Stick
This Golden Retriever walking cane has been designed and crafter to the highest of standards.This 'Ergonomic Cane' walking stick is practical and stylish and would be great for any dog...$195.00 -
![Stylish Walking Cane For Man and Women, Natural Wood Canes, Designer]() Sold Out
Sold OutStylish Walking Cane For Man and Women, Natural Wood Canes, Designer
In order to make this stylish walking cane we used world color tendencies. This piece of art is created for those who value details. We make one of a kind, handcrafted...$430.00